Closed-Loop Microservices Validation with Claude Code & Signadot
- Signadot account and CLI v1.4.0+: An account at signadot.com and the Signadot CLI for operator install,
local connect, sandboxes, and MCP. Runsignadot --versionto verify. - Kubernetes cluster with
kubectlpointed at it (this walkthrough uses Minikube). - Node.js with
npx: Used to install Agent Skills (npx skills add …). - Go 1.21+ for building HotROD (
log/slog; older Go fails). grpcurlfor validation againstroute.hotrod.svc(OS packages or grpcurl releases).
Overview
Testing local microservice changes against a shared Kubernetes cluster often involves a mess of kubectl port-forward commands, brittle mocks, or waiting for CI/CD pipelines just to verify a one-line change.
In this tutorial, you will use Signadot, Claude Code, and two complementary integrations: Signadot MCP, which lets the agent discover clusters, workloads, and sandboxes through the Signadot control plane, and the signadot-validate skill, which drives a repeatable validation loop: wire your change into a sandbox, run the service locally with cluster-backed dependencies, exercise in-cluster endpoints with a routing key, read failures, and iterate until the check passes. Validation through route.hotrod.svc (not only localhost) is what proves traffic crosses the mesh as in production-like paths.
Read more in Introducing the signadot-validate Skill and the Agent Skills guide.
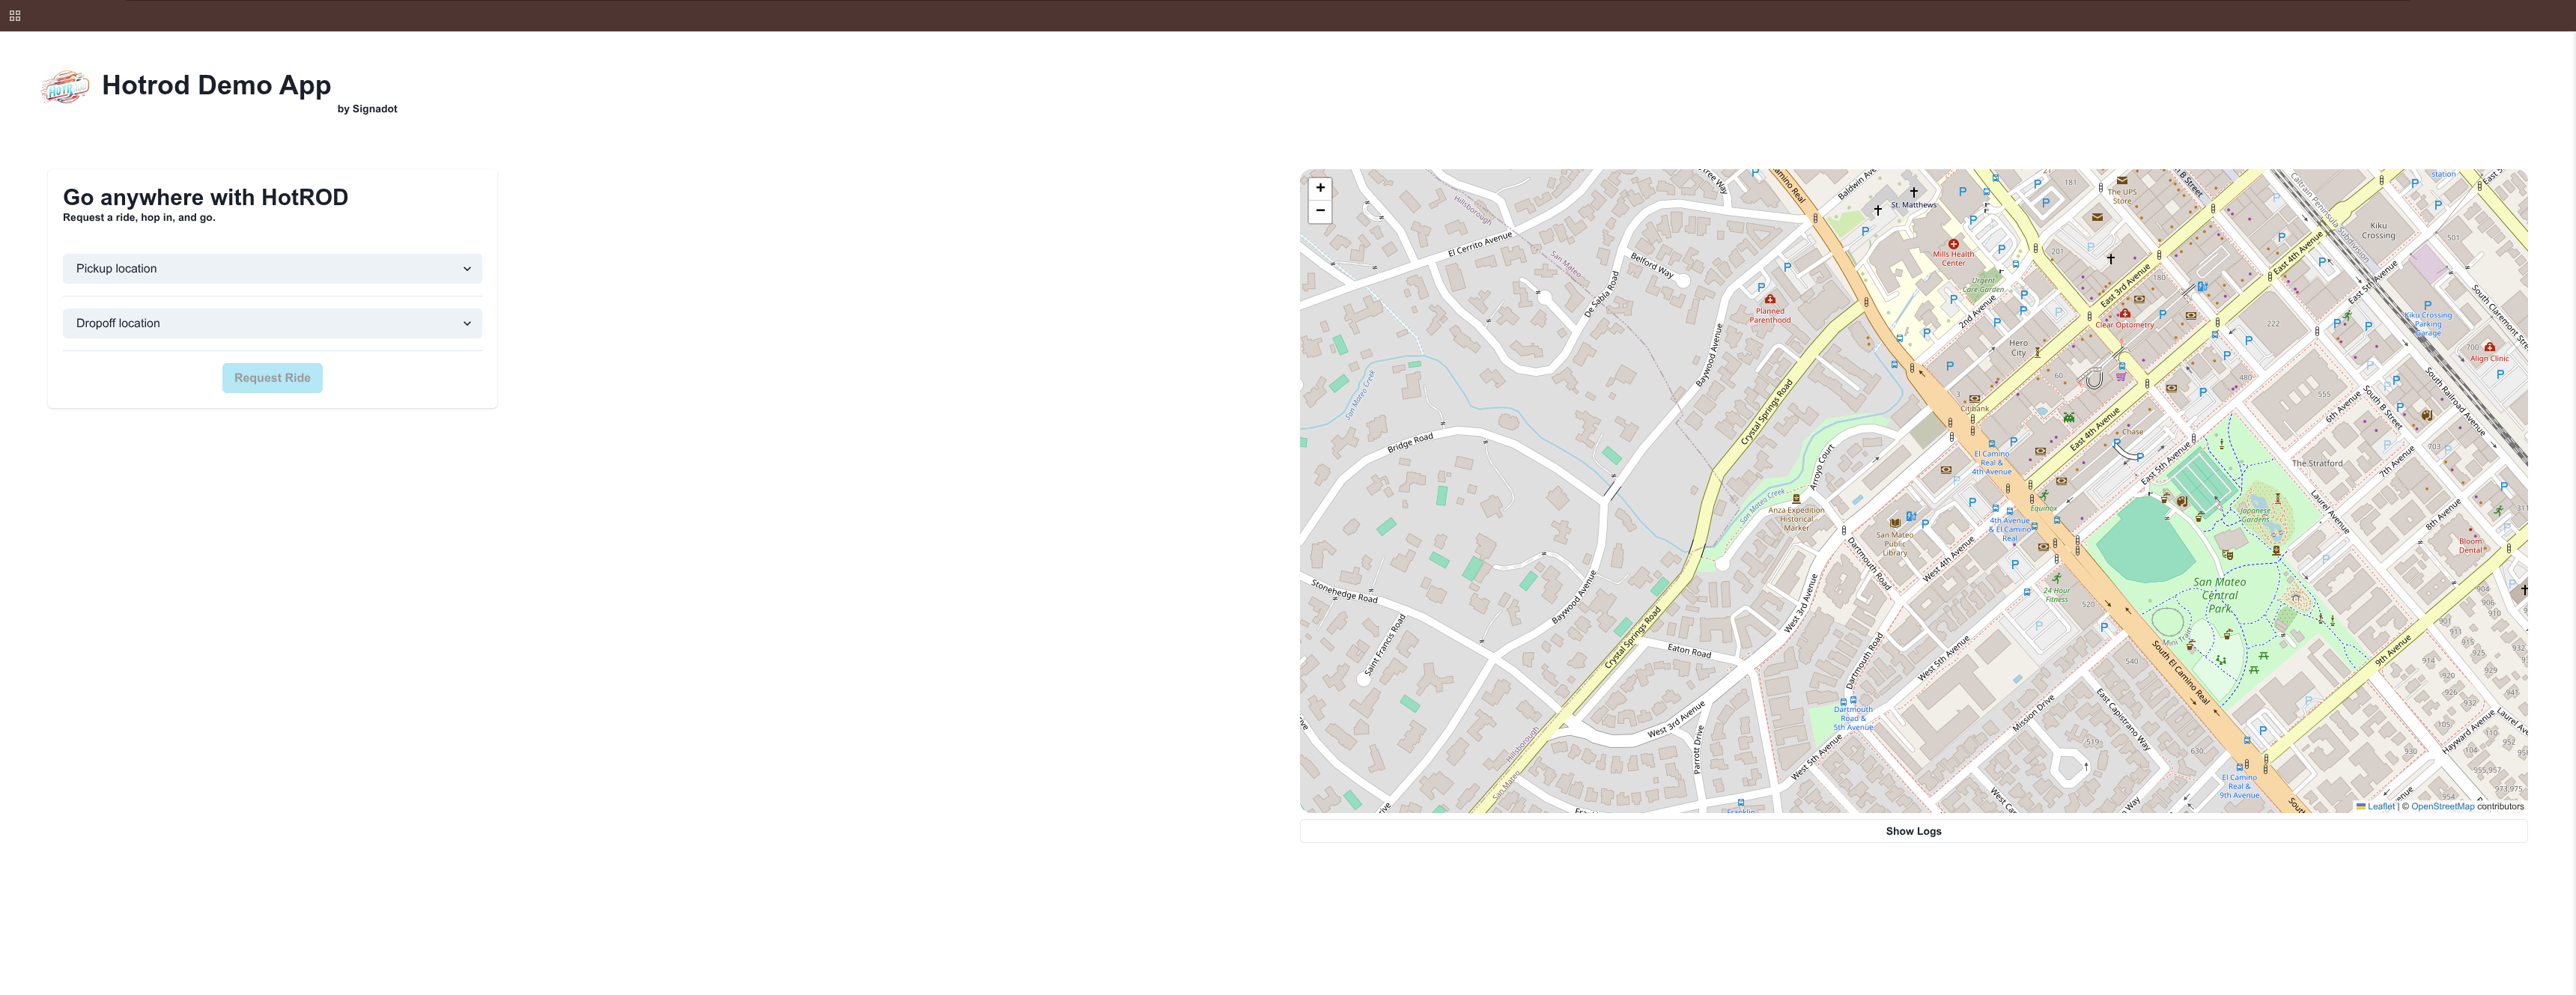
Baseline Setup (HotROD)
First, we establish the baseline environment. We will use the "HotROD" demo application.
Start the Cluster & Install Operator
Start your local cluster and install the Signadot Operator.
- Minikube
- Other Clusters
minikube start
Follow the install instructions found in your Signadot Dashboard under Clusters → Connect. The dashboard will show you the commands to run.
Ensure your kubectl context is set to your target cluster:
kubectl config get-contexts  # List available contexts
kubectl config use-context <your-cluster-context>  # Switch to your cluster
Follow the install instructions found in your Signadot Dashboard under Clusters → Connect.
Use the cluster token from Clusters → Connect only in the Helm snippet the dashboard prints so the operator can create the cluster-token Secret and register your cluster. If operator pods never become healthy (missing cluster-token Secret) or Helm fails with CRD ownership or wrong-namespace errors, see Operator pods and cluster-token and Helm install / CRD mismatch in Troubleshooting below.
You can verify the cluster connection in the Signadot web dashboard:
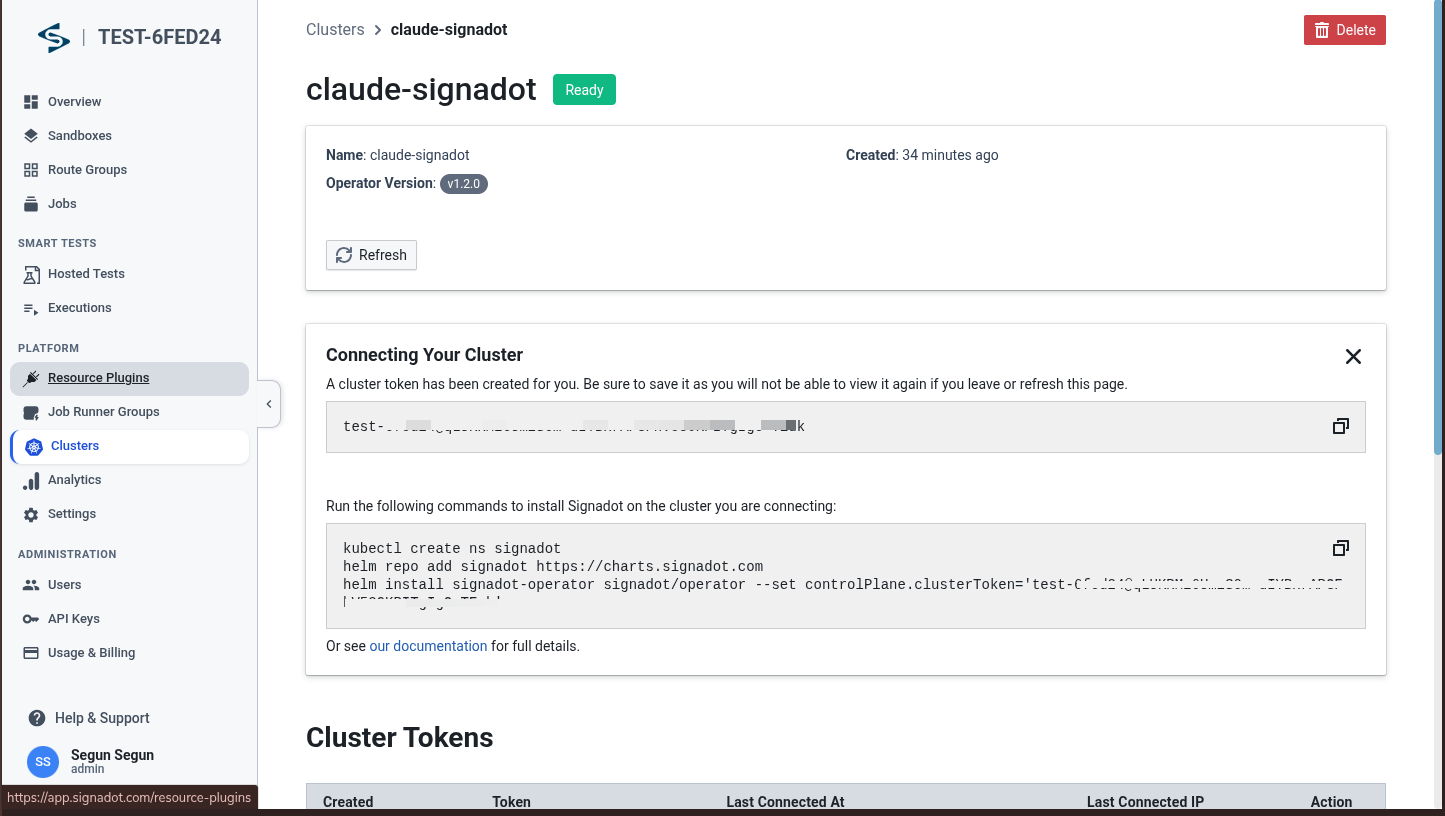
Verify Signadot CLI is installed:
Install the HotROD Baseline
Deploy the demo microservices into the hotrod namespace.
kubectl create ns hotrod || true
kubectl -n hotrod apply -k 'https://github.com/signadot/hotrod/k8s/overlays/prod/devmesh'
Verify that the baseline pods are running:
⏱️ Wait for pods to be ready: All pods must reach Running status with 1/1 ready before proceeding. This can take 2-5 minutes while images are pulled. Use kubectl -n hotrod get pods -w to watch progress.
Step 1: Local Connect (Required)
To route traffic from the cluster to your laptop, we use signadot local connect. This step must be completed and running before proceeding to Steps 2 and 3.
Authenticate Signadot CLI
If you haven't already authenticated:
signadot auth login
The CLI will open your browser for authentication.
Configure Local Connect
Create or edit your config file at ~/.signadot/config.yaml:
local:
  # Use a benchmarking CIDR to avoid conflicts with home/office Wi-Fi
  virtualIPNet: 198.18.0.1/16
  connections:
    - cluster: claude-signadot  # Use your actual cluster name from 'signadot cluster list'
      # Force PortForward for stability on Minikube
      type: PortForward
      kubeContext: minikube
Run signadot cluster list to see your registered cluster name. Replace claude-signadot above with your actual cluster name.
Connect to the Cluster
Run this command as your normal user (do not use sudo):
The process will run in the background. You'll be prompted for your password when it needs to update /etc/hosts.
If signadot local connect fails with 404 … no such devbox, see Local connect and devbox (404) in Troubleshooting below.
Gate Check: Verify Routing
Before proceeding to Steps 2 and 3, we must prove the tunnel is working. If this check fails, the sandbox will not work.
Run this in your terminal:
-
HTTP 200 OK: ✅ Proceed to Step 2.
-
Hang/Timeout: ❌ Stop. Your
virtualIPNetconfiguration in Step 1 is likely conflicting. Change the CIDR in~/.signadot/config.yamland reconnect.
The signadot local connect process must remain running for the duration of your debugging session. Do not interrupt the process.
Step 2: Claude Code, signadot-validate, and Signadot MCP
Install Claude Code, add the signadot-validate Agent Skill, then wire Signadot MCP so the agent can drive sandboxes and CLI workflows together.
Install Claude Code
If you haven't already installed Claude Code:
Install the signadot-validate skill
From any directory, install the skill into Claude Code globally so it is available in any repository you open with Claude Code:
Confirm installation:
npx skills list
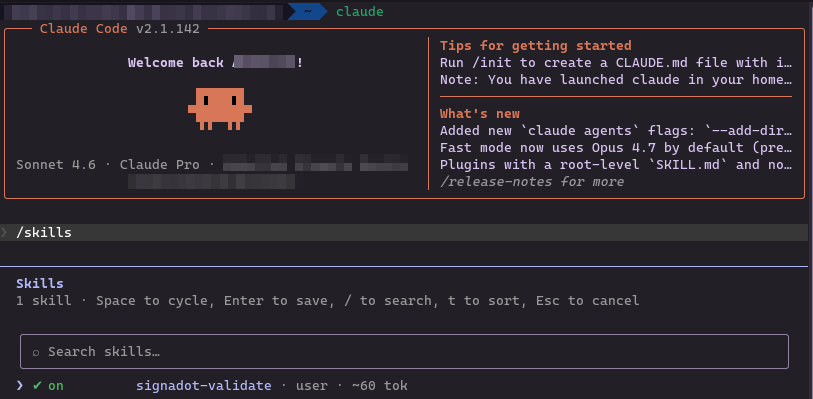
You should see signadot-validate listed for Claude Code (for example under ~/.claude/skills/signadot-validate).
Verify the skill in Claude Code
Restart Claude Code (or open a new session). Run /skills and confirm signadot-validate appears and can be toggled on.
Add Signadot MCP Server
Configure Claude Code to use the Signadot MCP server:
This command:
- Adds the
signadotMCP server to Claude Code's configuration - Configures it to use stdio transport
- Points to the
signadot mcpcommand
Verify MCP Connection
Verify the Signadot MCP server is connected:
Launch Claude Code
Start Claude Code for the first time:
claude
First-time authentication flow:
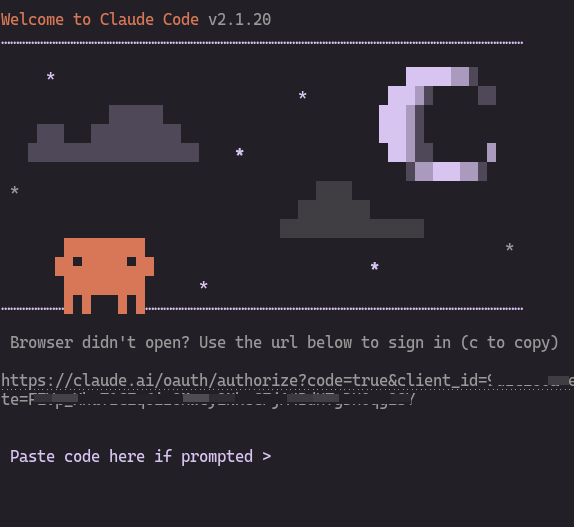
The CLI will open your browser for OAuth authentication:
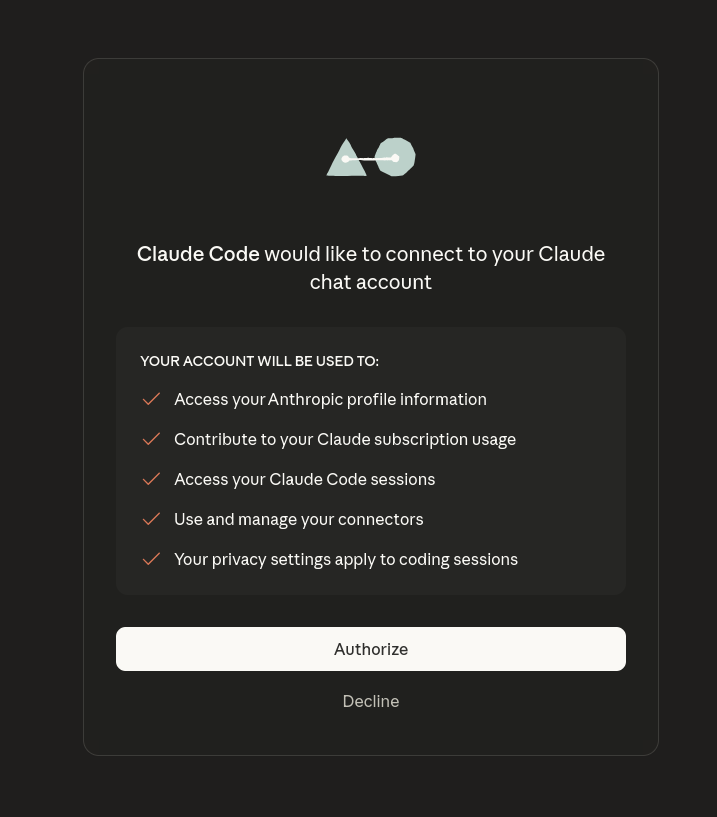
After authorizing in the browser:
Return to your terminal to see the login confirmation:
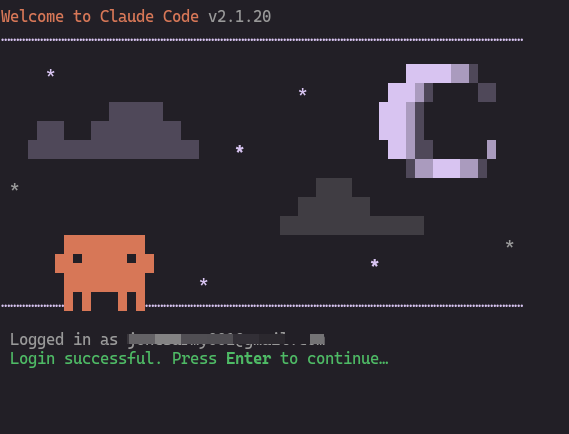
Press Enter to continue into Claude Code.
For detailed setup instructions, see the Claude Code Setup Documentation.
Step 3: The Workflow
Ensure Step 1 (Local Connect) is running and healthy before starting this workflow. The signadot local connect process must be running in the background.
With signadot-validate enabled and Signadot MCP connected, Claude Code can implement a change in HotROD, bind it into a sandbox, run the service locally with sandbox env, and validate through route.hotrod.svc using your sandbox routing key, exercising mesh routing instead of only a raw localhost listen check.
Navigate to HotROD Repository
git clone https://github.com/signadot/hotrod
cd hotrod
Launch Claude Code
claude
When launching in a new workspace, you'll see a security prompt:

Choose to trust the workspace. You'll then see the main dashboard:
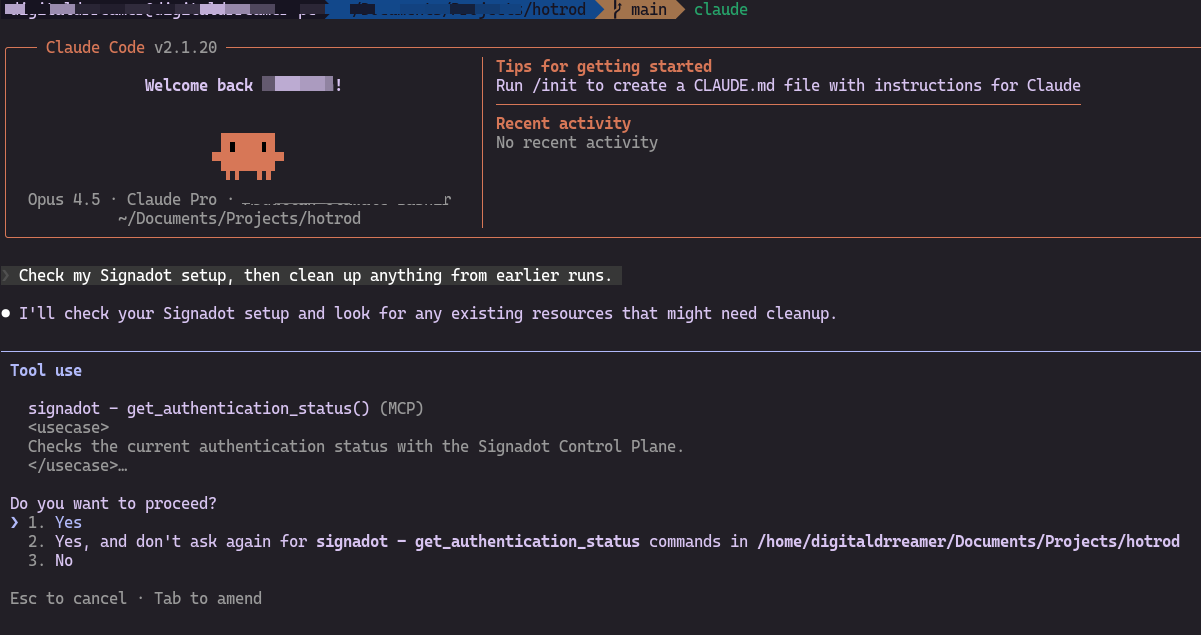
Prompt 1: Sanity & Cleanup
We want a clean slate to avoid state conflicts from previous sessions.
Prompt:
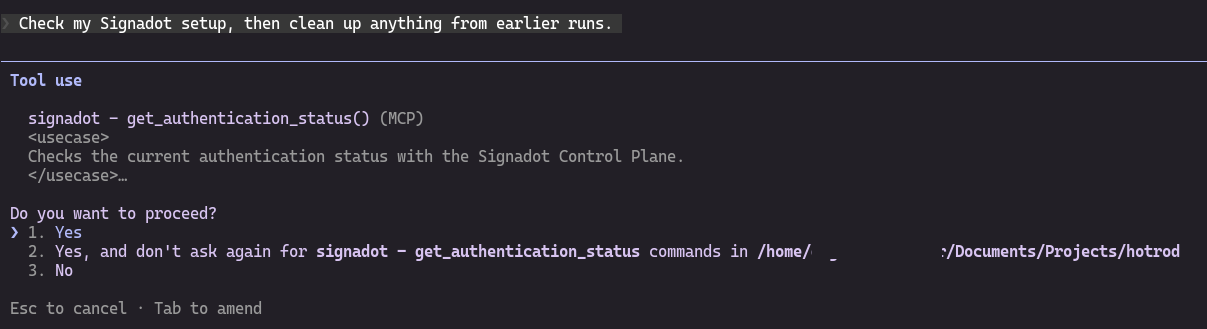
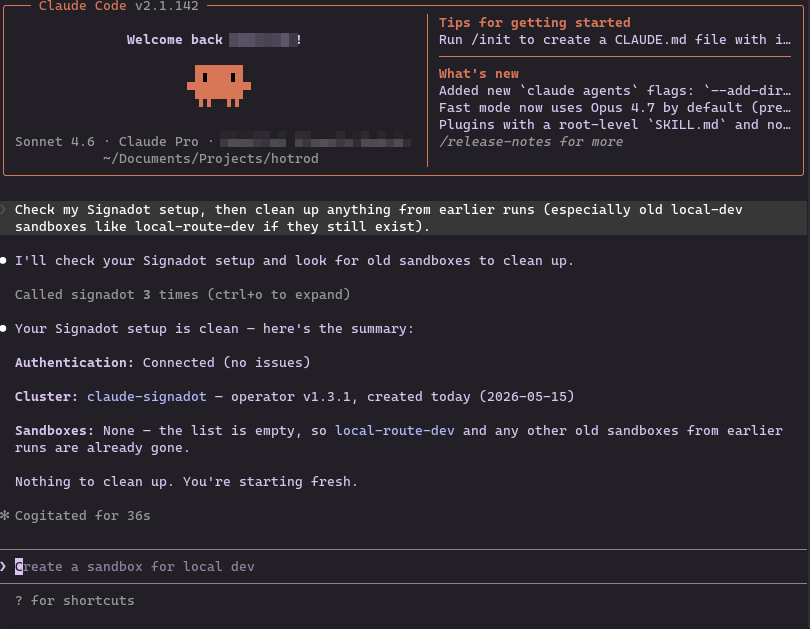
Check my Signadot setup, then clean up anything from earlier runs (especially old local-dev sandboxes like local-route-dev if they still exist).
Paste the prompt into Claude Code and send it. Claude Code will use Signadot MCP tools (you may be prompted to approve tool calls such as listing clusters or sandboxes):
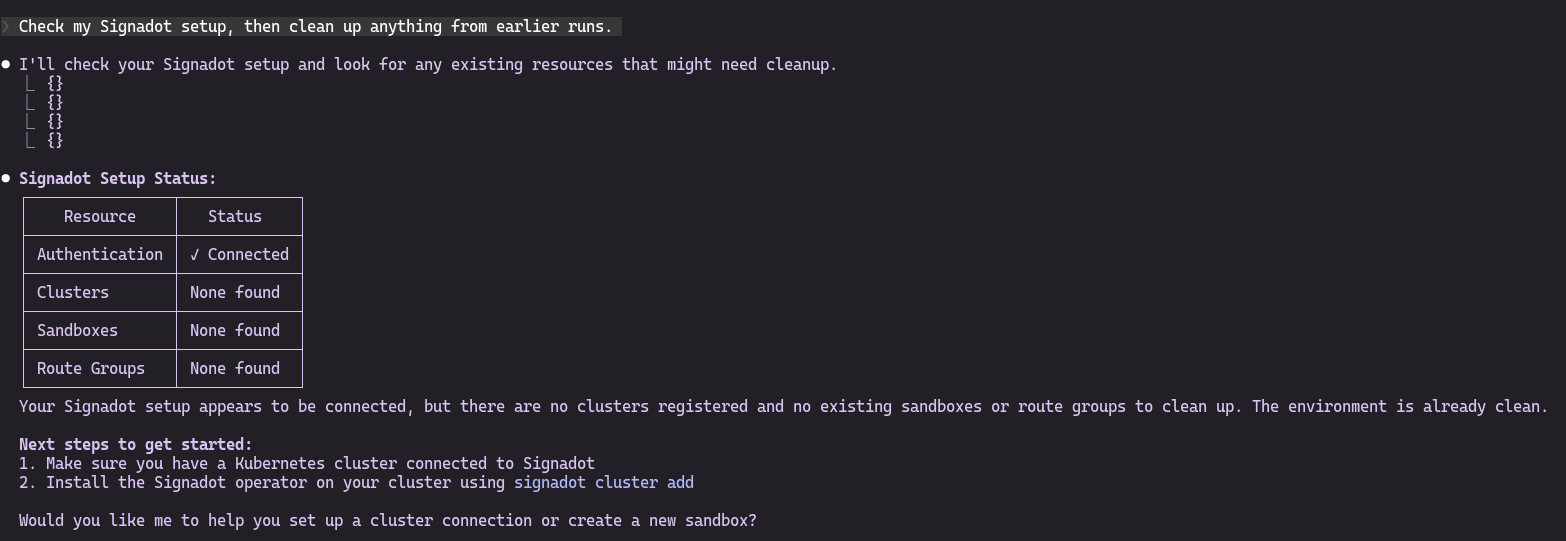
If no cluster is connected yet, you'll see:
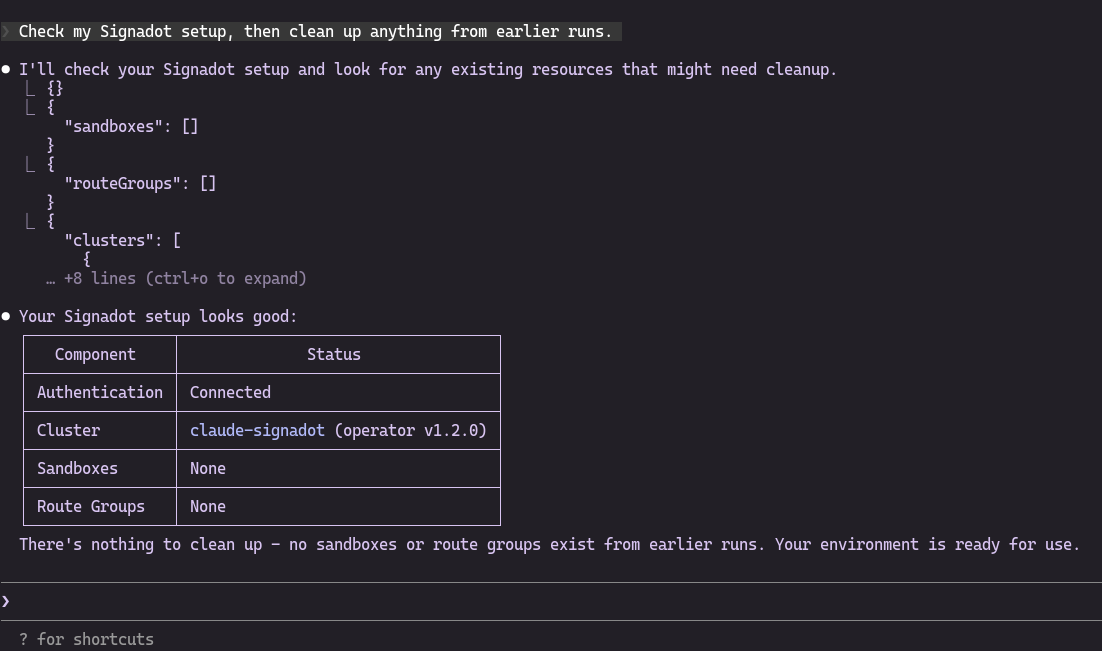
Once your cluster is connected (from Step 1), the status will show:
Prompt 2: Validate end-to-end with signadot-validate
This prompt asks Claude to follow the signadot-validate skill: edit the route service, ensure a local-dev sandbox maps hotrod/route to your laptop, run with signadot sandbox get-env, and prove the behavior with grpcurl (or equivalent) against route.hotrod.svc:8083 using the sandbox routing key on the request.
Prompt:
Follow the signadot-validate skill end-to-end for this HotROD change:

1) Change the route service so customer-facing ETA for FindRoute is in seconds instead of minutes. Keep behavior reasonable for the demo.

2) Create or reuse a local-dev sandbox called local-route-dev that maps hotrod/route (Deployment) port 8083 to my localhost:8083, and apply it if it's new.

3) Run the route service locally with the sandbox environment (for example eval $(signadot sandbox get-env local-route-dev)).

4) Validate by calling the in-cluster address route.hotrod.svc:8083 with the sandbox routing key on the request (for example baggage sd-routing-key=<key>). Prefer grpcurl against FindRoute if that matches this service. Do not treat "curl http://localhost:8083" alone as success; that bypasses the mesh and routing path we care about.

5) If validation fails, inspect logs and output, make the smallest fix (code or commands), and repeat until it passes.

When you're done, summarize: sandbox name, routing key, the exact passing validation command, and what you changed in the code.
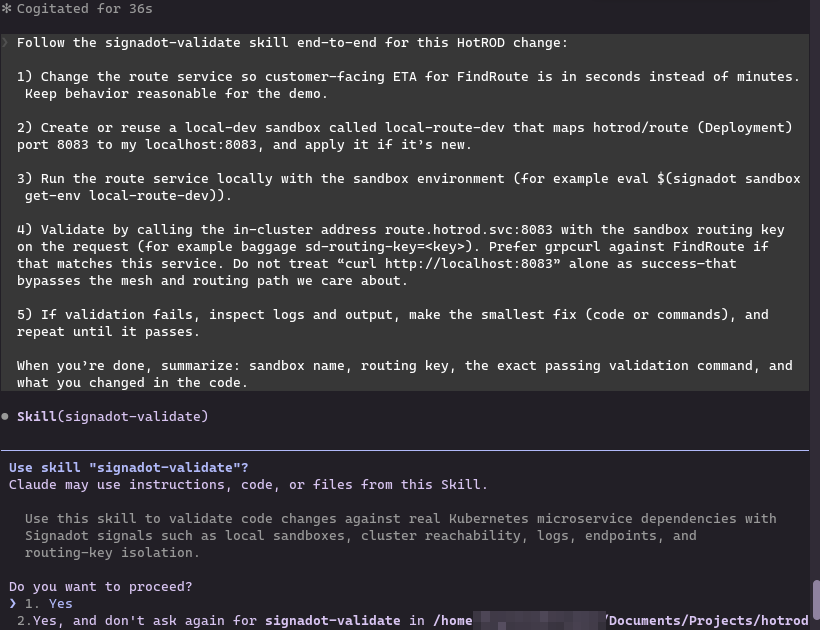
Claude may ask you to confirm using the skill:
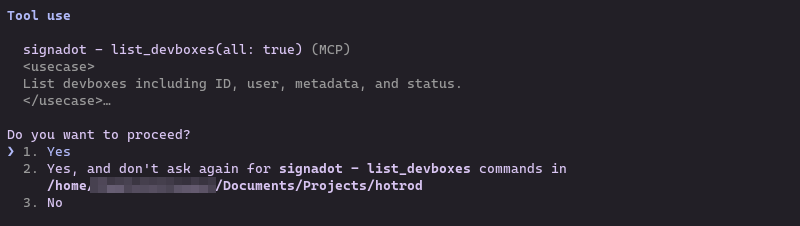
During the run you will see MCP tool confirmations (approve Yes so the agent can list devboxes, create sandboxes, and similar):
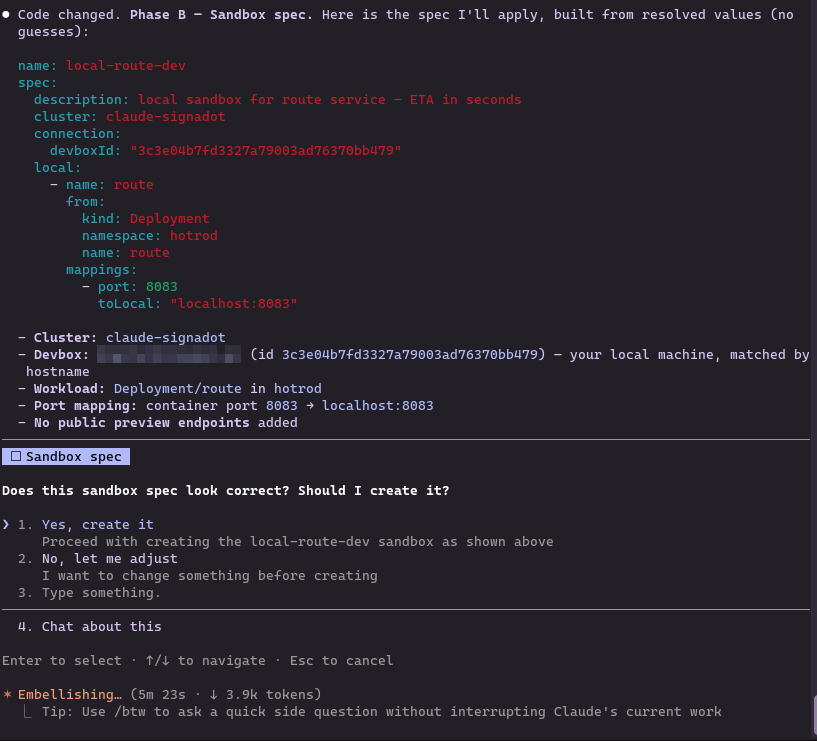
Along the way you should see the skill load, repository and cluster checks, a proposed edit to the route service (often in services/route/server.go), and a sandbox spec confirmation before apply, for example:
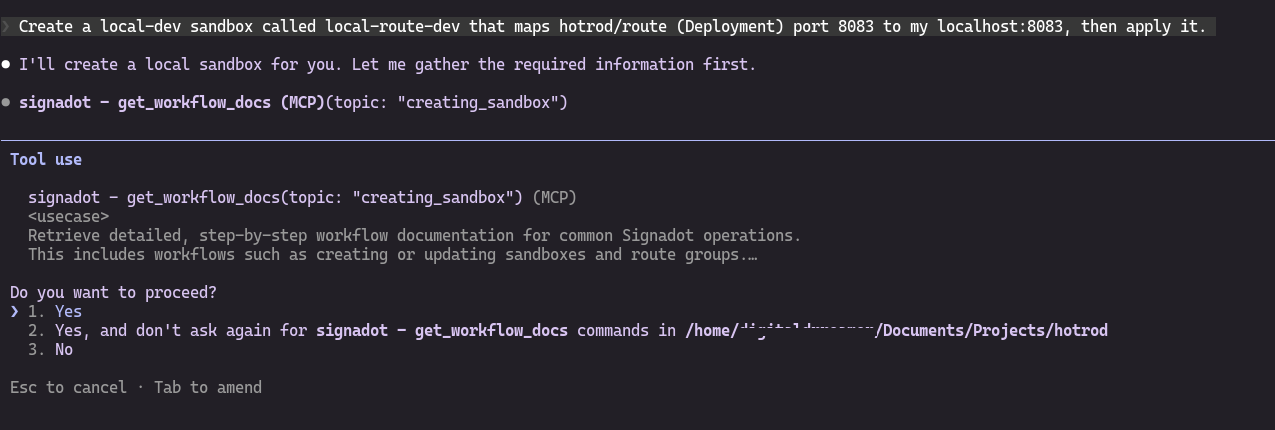
You may also see the agent read Signadot workflow documentation and preview sandbox YAML before applying:
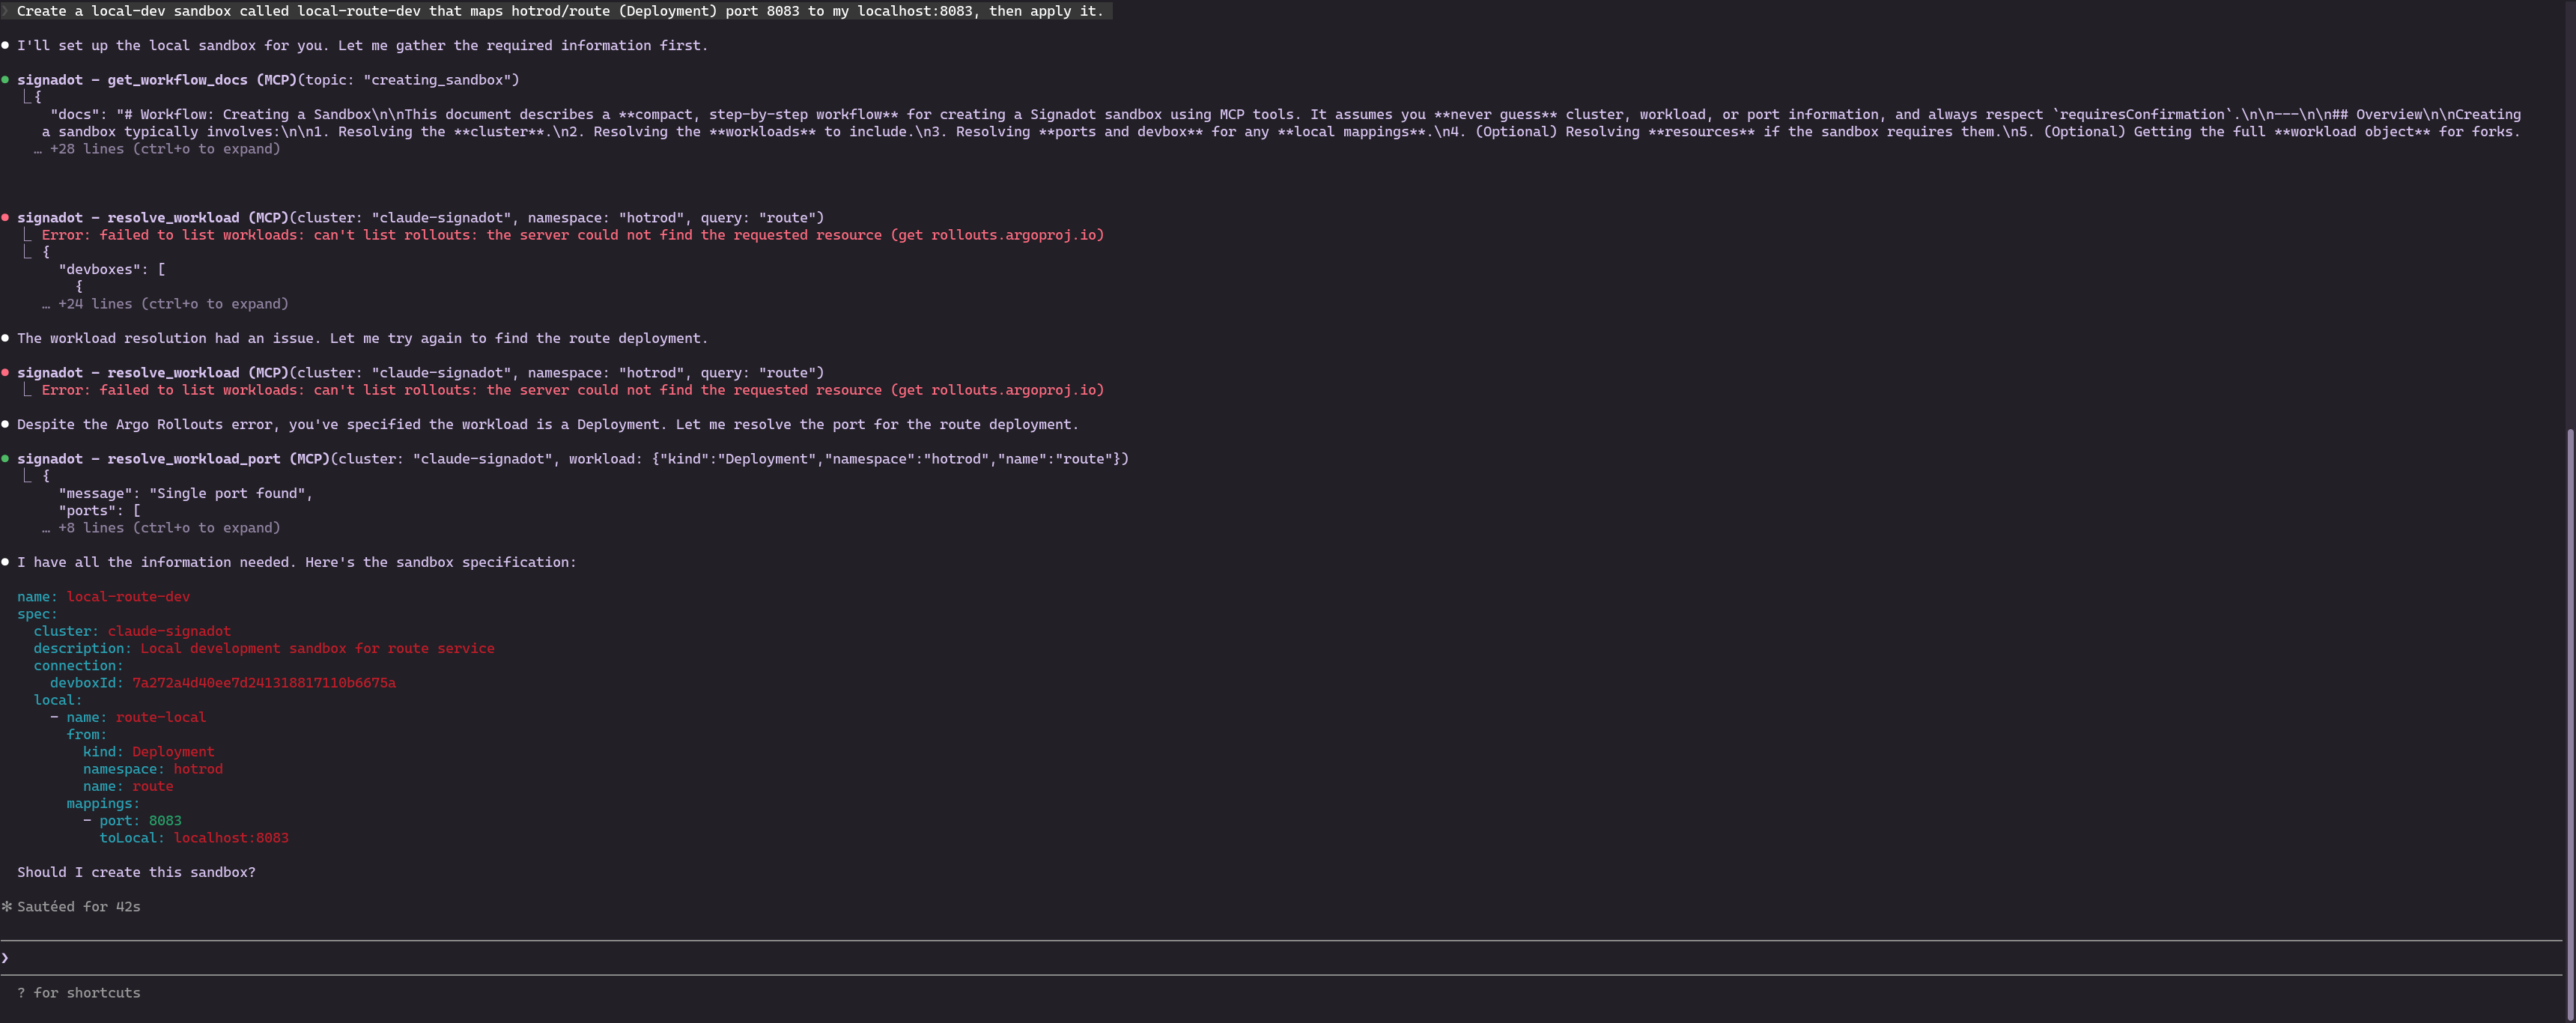
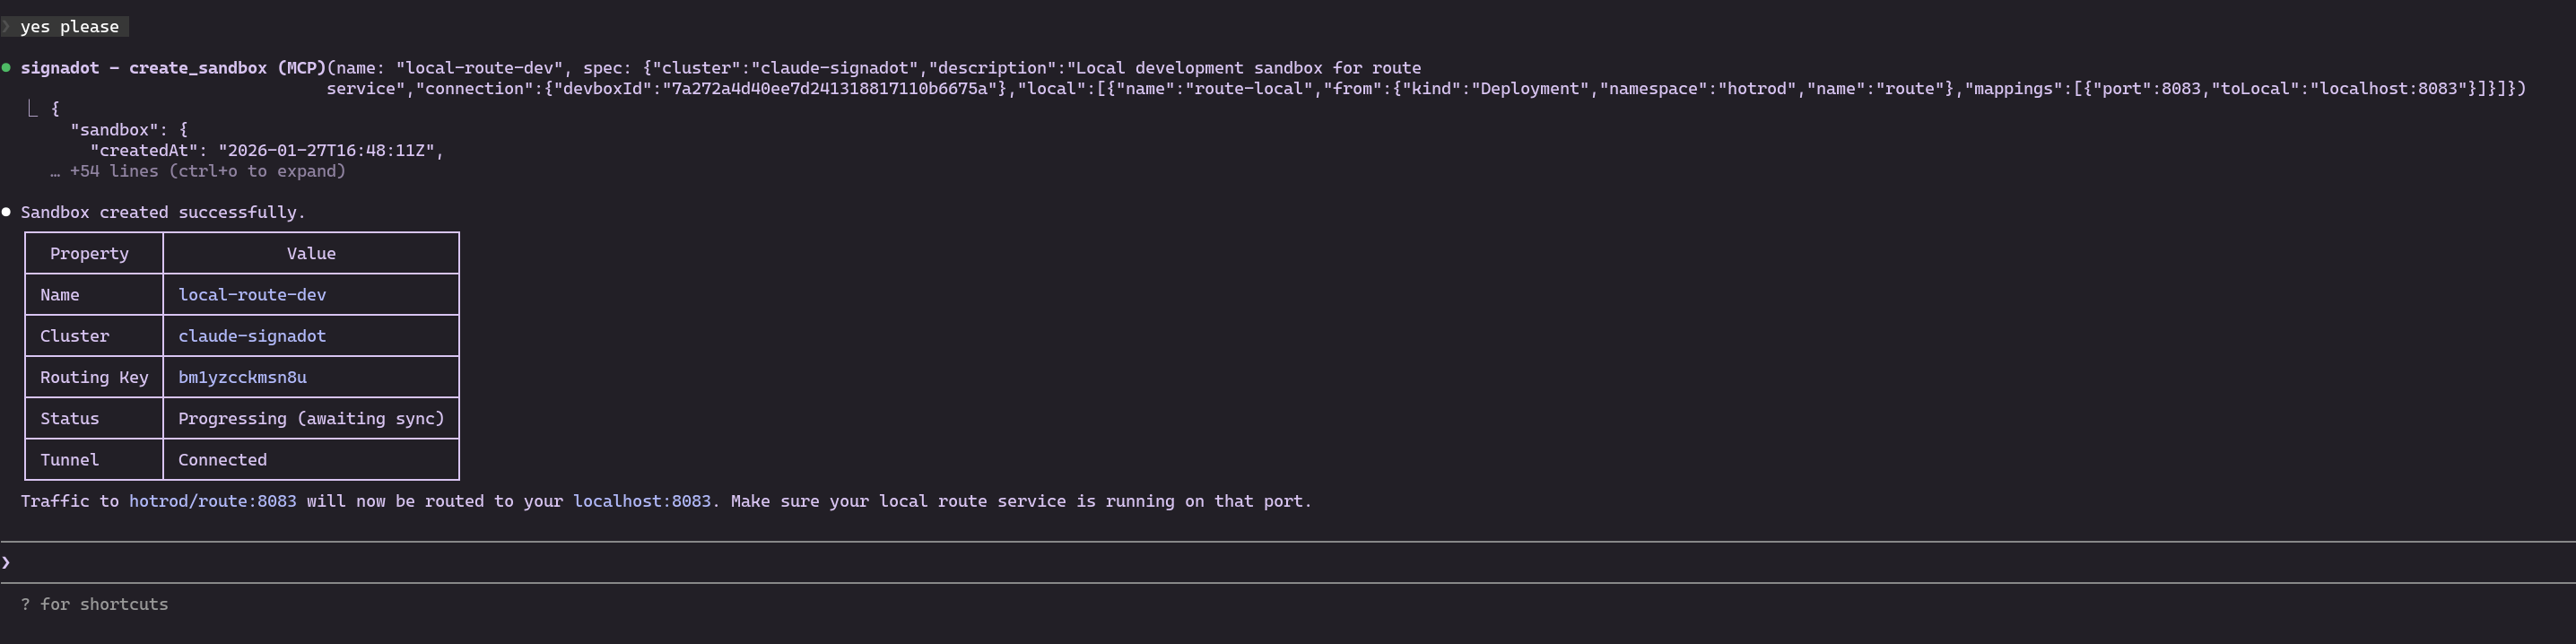
When validation succeeds, Claude should summarize routing key, sandbox name, and the exact grpcurl (or similar) command. The ETA randomization change often lands in services/route/server.go (HotROD layout); your summary should match whatever path the agent edited.
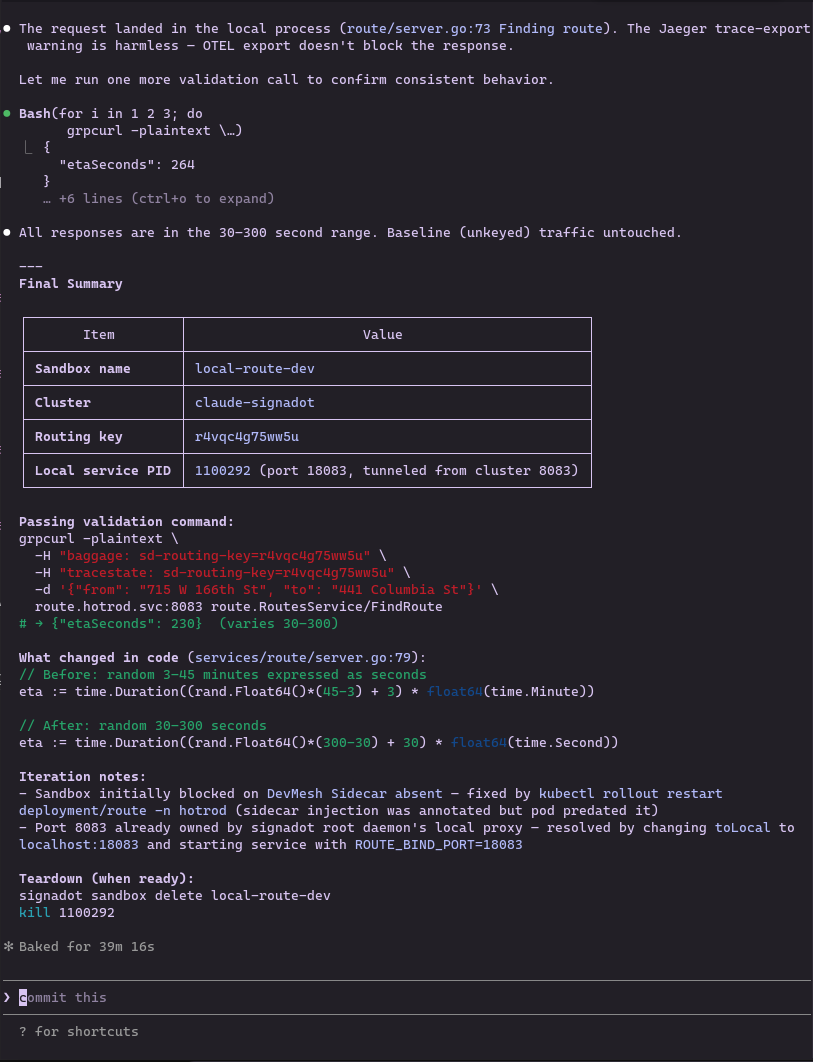
If 8083 is already in use on your machine, the agent may choose another local port (for example 18083) and set ROUTE_BIND_PORT while keeping the sandbox mapping consistent. Align toLocal in the sandbox spec with whichever port your local route process listens on.
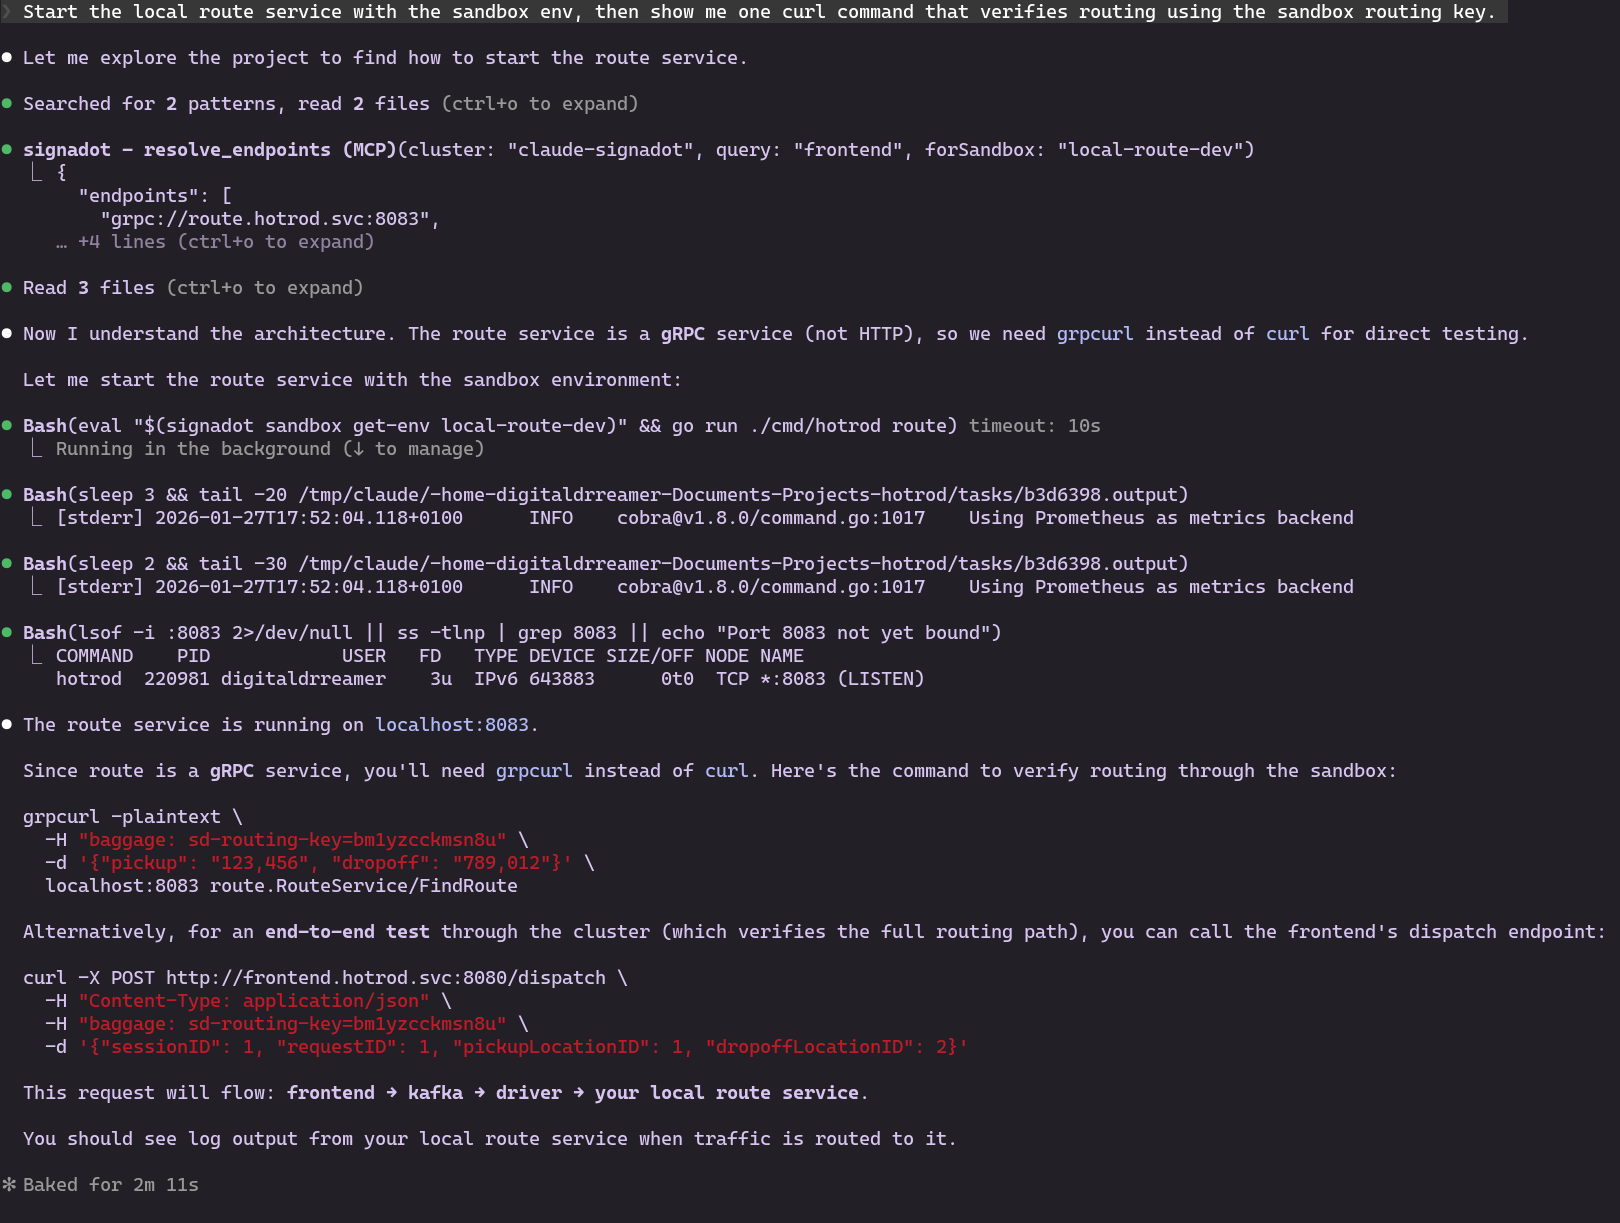
Reference commands the agent may surface (run go run in a second terminal while Claude works):
eval $(signadot sandbox get-env local-route-dev)
go run ./cmd/hotrod/main.go route
Verify the process is listening if needed:
Step 4: Verification (reference)
The signadot-validate loop above already performs mesh-aware validation. Use this section for alternatives or manual checks.
Option A: grpcurl Method
Use grpcurl against route.hotrod.svc:8083 with baggage: sd-routing-key=<your-key> (and tracestate if your cluster expects it). Example shape:
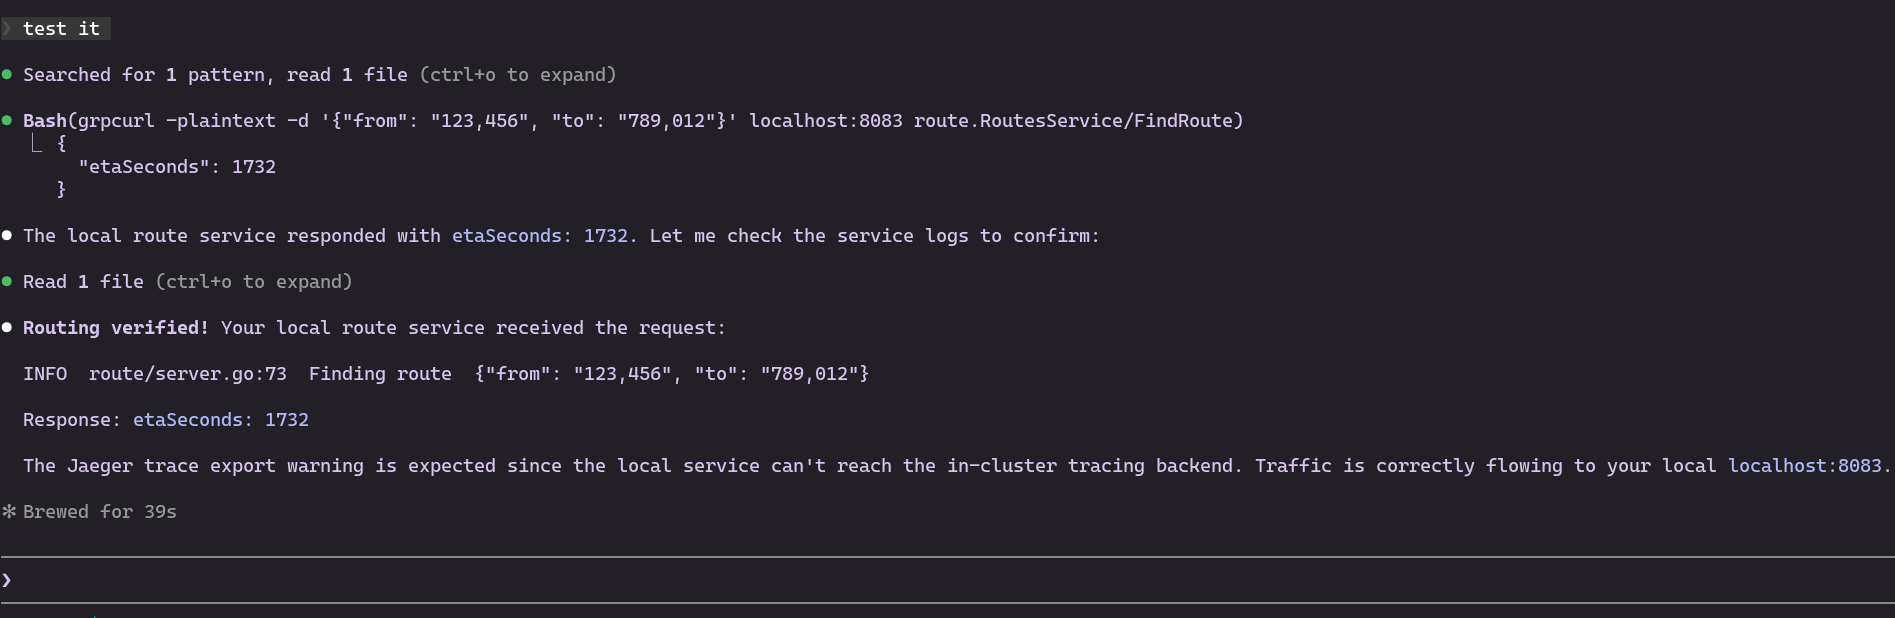
The response should reflect your local route process when the sandbox routing key is present.
Option B: Browser Extension (Visual)
- Install the Signadot Chrome Extension.
- Log in and select your sandbox (
local-route-dev) from the dropdown. - Visit
http://frontend.hotrod.svc:8080. The extension injects routing headers for UI-level checks.
Option C: Manual tweak and re-run
If you edit the route service yourself after the agent run, restart the local go run ./cmd/hotrod/main.go route process and rerun the same grpcurl command with the sandbox routing key.
Troubleshooting
If you get stuck, try these common fixes:
Operator pods stuck; Events show secret "cluster-token" not found
Signadot workloads mount a cluster-token Secret in the signadot namespace. If Helm did not create it, agent and signadot-controller-manager pods stay in ContainerCreating.
That dashboard token is only consumed by the Helm install (it becomes this Secret). It is not a substitute for signadot auth login (your user session) or for anything signadot local connect configures on your machine.
Create the signadot namespace before install if needed (kubectl create ns signadot) and install with --namespace signadot so releases and CRDs stay aligned.
Fix: Create the secret from your dashboard token (see Helm NOTES after install), then restart agent workloads:
kubectl -n signadot create secret generic cluster-token --from-literal=token='<your-cluster-token>'
kubectl -n signadot rollout restart deployment agent
Verify with kubectl -n signadot get pods.
helm install fails: CRD ownership / release-namespace mismatch
Installing the operator once without --namespace signadot can leave CRDs owned by a release in default, blocking a later install into signadot.
Fix: On a lab cluster, helm uninstall the failed release, delete Signadot CRDs (kubectl get crd | grep signadot), recreate signadot namespace, and reinstall with --namespace signadot --create-namespace and your cluster token.
Connection Timed Out on .svc addresses
If curl http://frontend.hotrod.svc:8080 hangs or .svc resolves to an IP but times out, your machine is likely routing the default virtual IP range to your internet gateway. This is more common with Minikube when using VPNs or office Wi-Fi.
Fix: Edit ~/.signadot/config.yaml and change virtualIPNet to 198.18.0.1/16, then restart local connect.
Authentication Failed / Keyring Errors
If you see "Failed to unlock correct collection" or "No authentication found", you likely ran sudo signadot local connect.
Fix: Run signadot local connect as your normal user. Only provide the sudo password when the CLI prompts you for it.
Go Build Failures
If go run fails with package log/slog is not in GOROOT, your Go version is too old.
Fix: Install Go 1.21 or higher and ensure your $PATH lists the new Go version first.
Cluster Not Found Error
If you get Error: no such cluster "hotrod-test", your cluster is registered with a different name.
Fix: Run signadot cluster list to see your actual cluster name, then update ~/.signadot/config.yaml to use that name.
Pods Still Creating After 10 Minutes
If HotROD pods are stuck in ContainerCreating for >10 minutes, there may be image pull issues.
Fix: Check pod events with kubectl -n hotrod describe pod <pod-name> and look for errors in the Events section.
signadot local connect: no such devbox (404)
Stale ~/.signadot/.devbox-id can reference a deleted devbox.
Fix: rm -f ~/.signadot/.devbox-id, run signadot devbox register, then signadot local connect again.
CLI reference: signadot devbox.
Conclusion
In this tutorial, you configured local connect, installed signadot-validate together with Signadot MCP for Claude Code, and drove a closed-loop change on HotROD's route service: sandbox wiring, local execution with cluster env, and validation through in-cluster DNS + routing key. You learned how to:
-
Configure and connect to the cluster with stable PortForwarding configuration.
-
Install the
signadot-validateskill and confirm it in/skills. -
Install Claude Code MCP to bridge the AI agent with Signadot.
-
Clean prior sandboxes and verify cluster health via natural language.
-
Iterate until grpcurl (or equivalent) proves your change on
route.hotrod.svcwith the sandbox routing key, not merely on localhost alone.
This workflow narrows the gap between fast code generation and verified microservice behavior against real cluster dependencies.